
Finally got the colors right! I recreated Mario on the new Metal base boards


-
Recent Posts
Archives
Categories
Meta
Friends


Finally got the colors right! I recreated Mario on the new Metal base boards
The Foam Core/ Flexiron base was a success from a functionality standpoint. However, the time it takes to cut the flex iron into pieces and stick them on the board is not insignificant. The obvious alternative is to simply use a ferrous sheet metal. Hypothetically, the sheet metal can be hung on the wall as-is – saving hours of time.

I worked a little with a 24 gauge steel sheet a few weeks ago, which I found to be too heavy to comfortably hang on a wall without using some sort of wall anchors or a stud. I was able to find 26 gauge galvanized steel which is a) cooler looking and b) maybe 30% lighter.

I bought several e 24×24 squares (same as the foam core design) and hung them on the wall. I had the corners rounded and 8 holes punched into each square. Hanging them on the wall was a bit trickier – but doable. I made sure I put the first square up exactly where I wanted – taking care to keep it level. Then I was able to use that squares as an anchor of sorts when hanging the others. I used 4-6 nails in each square and 72 hours later, they are still hanging tough on my wall. I think each square weighs about 4-5 pounds.
I have a ton of ideas for different mosaics. Unfortunatley, new ideas usually requires new color which means I need to start up the Pixel Factory again. I’ve got this down to somewhat of a science now…
“Brown Mustard” (Mario)
Black

“Song Bird” (Megaman)
“Acorn Spice” (Link’s Shoes)
Paint Drying

The foam paint rollers are kind of expensive (9$/5) I read online that these can actually be frozen and reused. I tried this, and it worked great. Because I needed to paint two coats for each set of tiles, this would actually save a few dollars per batch.
I’ll spare the details, but I made another trip to Home Depot, got some more paint samples and painted some a few new batches of squares. Because the first Mario’s colors were kind of weird, I wanted to change it up a little this week.
I think it turned out pretty well. It took me about 30 minutes to switch the tiles up.
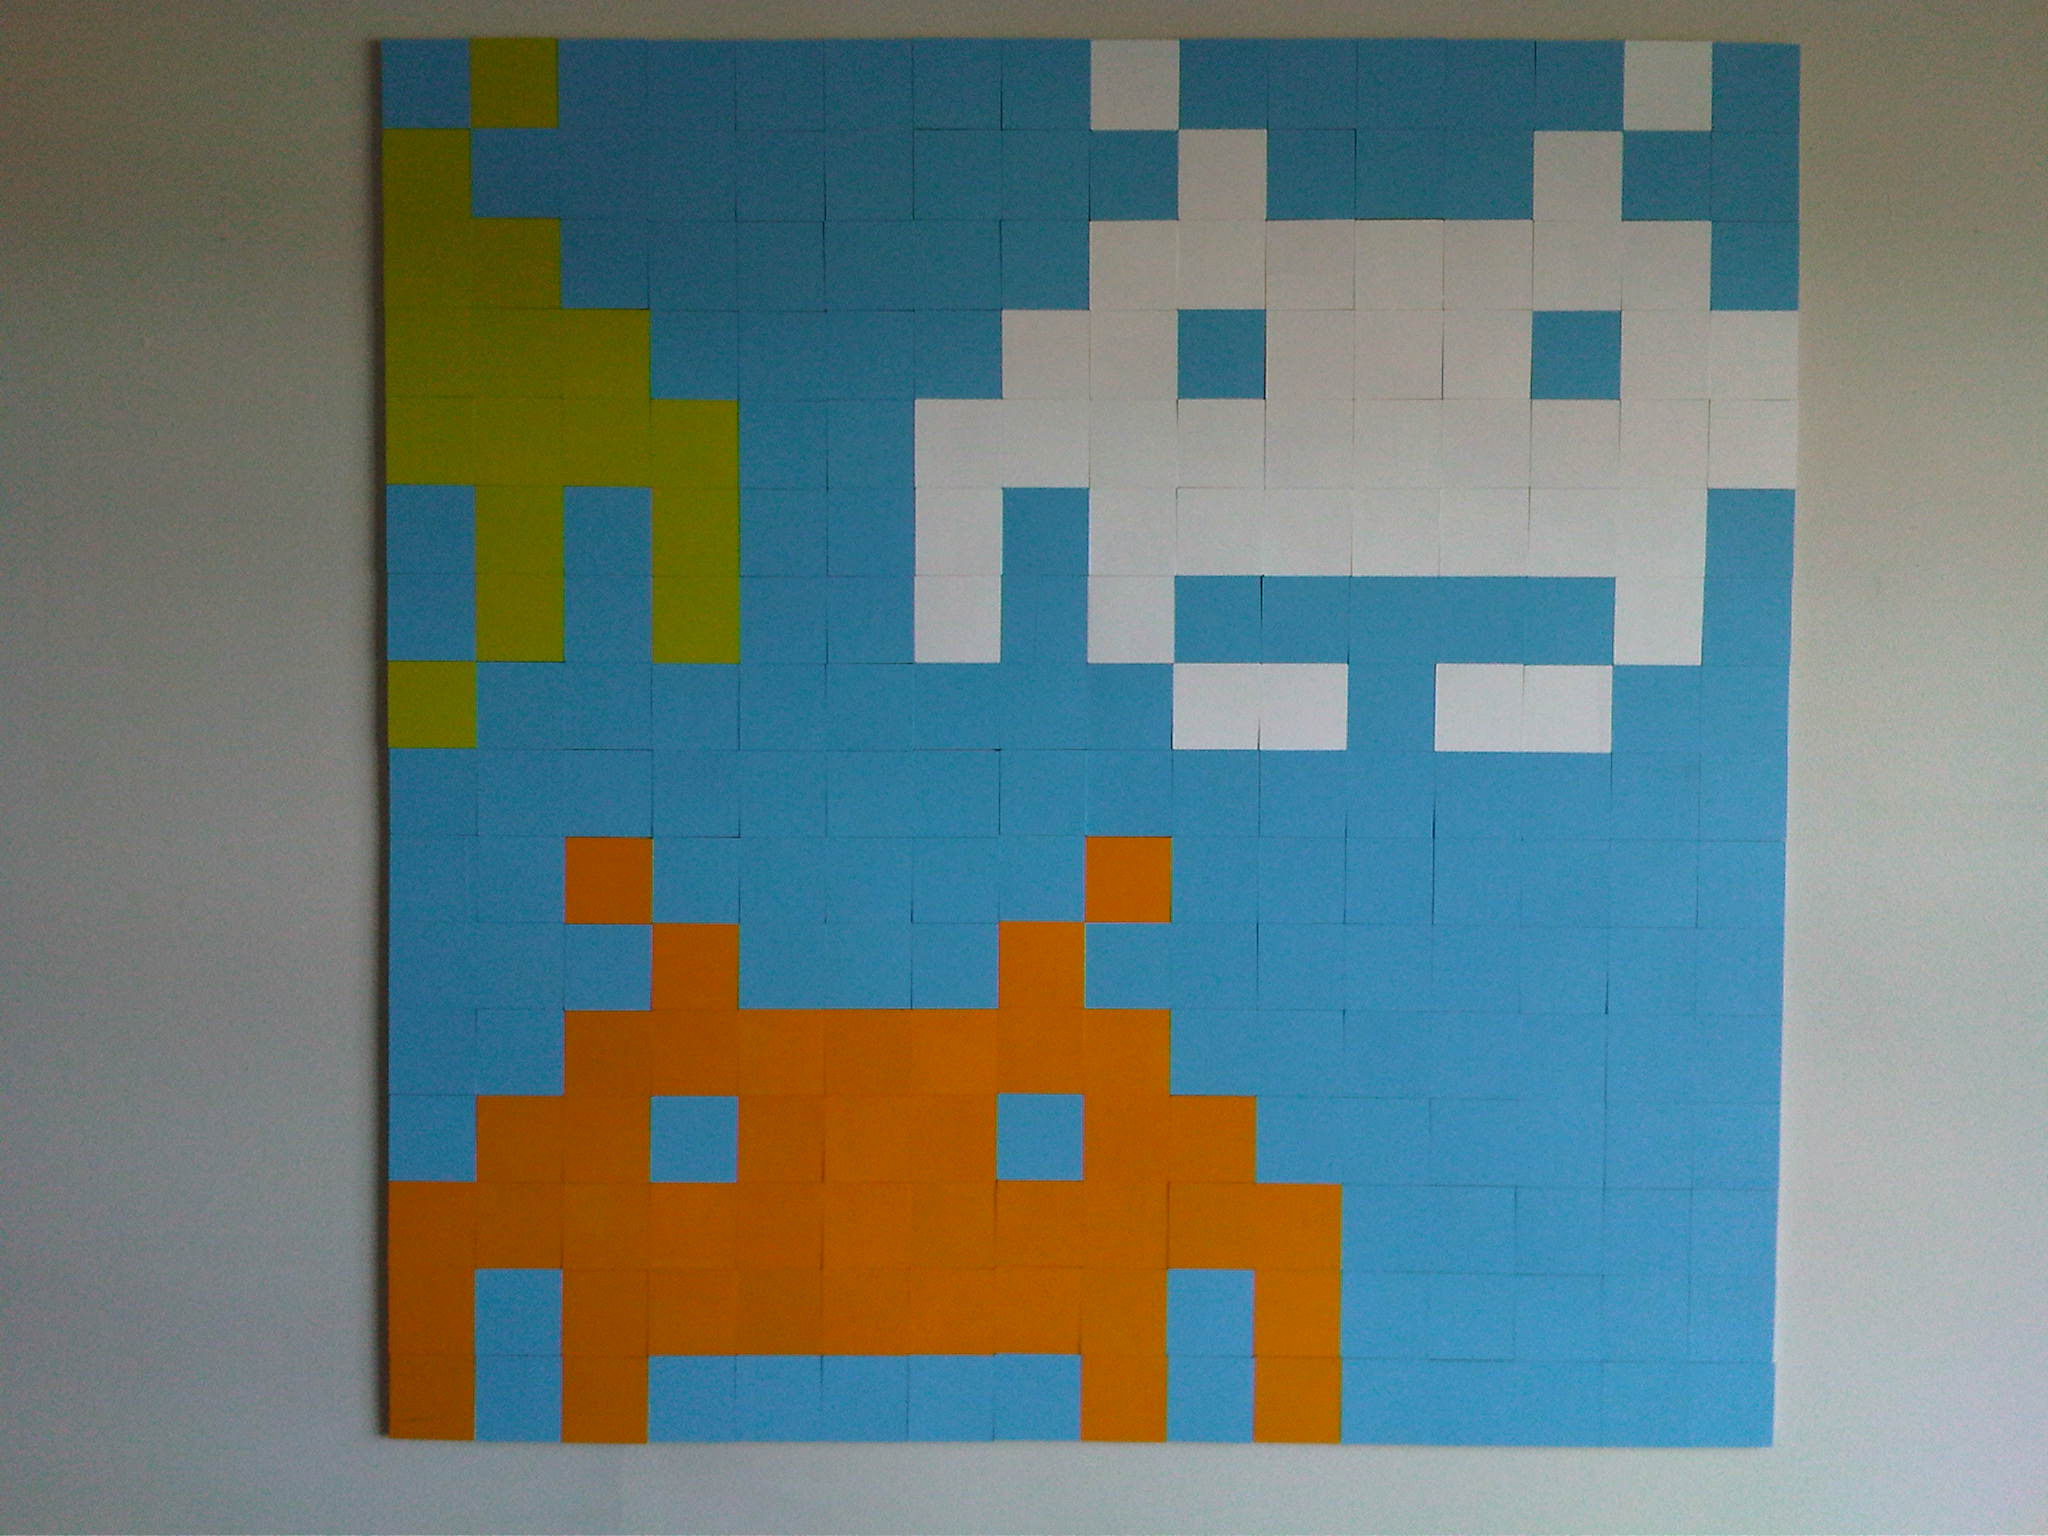
 This picture gives a better idea of how large this thing really is (4×4′).

This was my original design that I did in Excel but I had to add the green “invader” when I realized I didn’t have enough blue tiles.
Now that I have a decent stock of colored tiles, I started work on my first 4×4′ 8-bit sprite. I always planned to use the original Mario for my first legit piece. I found a good reference image on DeviantArt
 Blue Background

Gold for Arms and Feet

Looking pretty good… Oops I don’t have enough red. Probably would’ve been smart to count these out first.

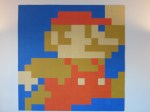
I used some creative license and made Mario’s hat green. Who knows, maybe he gets tired of wearing the same red hat all the time. Unfortunately, it looks like I botched the skin color. It looks more orange than I had planned. I’ll call this “Jersey Shore” Mario.

So all in all, pretty successful from a functionality standpoint. The base and tiles worked pretty much as designed. It took maybe 40 minutes to lay the tiles. The only disappointment is with some of the colors I chose. It looks like I’ll need to start up the tile making factory again soon.
The unpainted “natural” wood tiles definitely looked nice, and I may revisit them later but we are here to make some 8-bit art. For this, we’ll need more than one color tile.

Original NES Palette
Selecting paint colors was actually much more complicated than I expected. I’ll probably cover this in another post but in a nutshell, I tried to match the NES color palette as closely as possible
I started with the shades used to make Mario and some other colors I liked within the palette. Home Depot / Behr sell these cool paint samples for only 2.99. These paint samples have primer built in and seemed to work pretty well.
 Luckily, I had some pretty big boxes lying around from all the Foam Core I ordered. These turned out to make excellent “trays” for painting the tiles.

Based on a friend’s advice, I used small foam rollers from Home Depot. The small paint trays are nice because I really don’t need that much paint at a given time. This cuts down on the waste.
First batch… “Azurean”

White

“Volcanic Blast”

“Peach Butter”

“Lime Pop”

At this point, my house was a bit of a disaster. I converted my living room into a tile factory for the next few days. I used 2 coats and the results were pretty good.

Now that I have finished my magnetic base, it’s time to start making some tiles…
I already determined a while back that a 2×1.3″ magnet will sufficiently hold one of my 3×3″ squares to a 2×2 square of Flex Iron. How did I arrive at 2×1.3? This is 1/3rd the size of a business card. Business card shaped magnets are one of the cheapest pre-cut magnet styles available, so I bought a bunch of them
I cut the business card magnets into 3rds until I had a fairly large pile. Unfortunatley I don’t have a picture of this.


Next, I went though the tedious task of peeling adhesive magnets off the magnets and sticking them to the center of each tile. I tried to find the “bad side” of each wood tile and stick the magnet on that.
 After I generated about 40 tiles, I couldn’t resist.

I spent the next few hours making tiles until I finally had 256 – the number of cells in the 4×4′ base. It turned out great! Most of the people I showed this to liked the natural wood as is. Unfortunately, this is not what Mega Wall is all about. These tiles are going to be painted.
 A cool benefit of the Foam Core base is the raised look it provides for the “art.” Also because the Foam Core I ordered was about 1/8 inch less than the 48″ I requested, the base was a hair smaller than the mosaic. Luckily, I think this actually looks better – It gives the mosaic sort of a floating effect.
Now that I have the base pieces ready, It’s time to put this baby together and hopefully mount it on the wall.

I decided to make this base fold up “Trivial Pursuit” style. Hypothetically, I can connect the four quadrants in such a way that it will be able to fold upon itself- even though the board itself is somewhat thick. I used 3 pieces of tape. The first 2 connected the top and bottom so the sides can fold backward (above). The other piece ran down the top front so the two already folded sides could fold together.
 Seems like it works pretty well.

Time to hang this sucker up. I had a handy laser guide to help me make sure the top was level. The nice thing about the Foam Core is that even though the surface is large, it’s pretty light. I could hang this myself pretty easily.

Yet another benefit of Foam Core is that I can hammer nails into it wherever I like. I put a small nail in each corner and a few more wherever it looked like it could use one.
